Creating & sharing tables in Asana
Note: If you buy something linked to in one of our posts, we may get a small share of the sale.
Your office may have workflows where they need to share simple tables of information. Emailing spreadsheets back and forth takes work tracking away from Asana which introduces more complexity, so that should be avoided. So what are the options to share tables in Asana?
Asana does not have native table functionality. You can’t paste HTML tables, and there is no built-in table editor the way something like Airtable or Smartsheets allows.
Here’s a few methods you might want to consider depending on your needs:
Option 1: Create Excel spreadsheet and attach to Asana
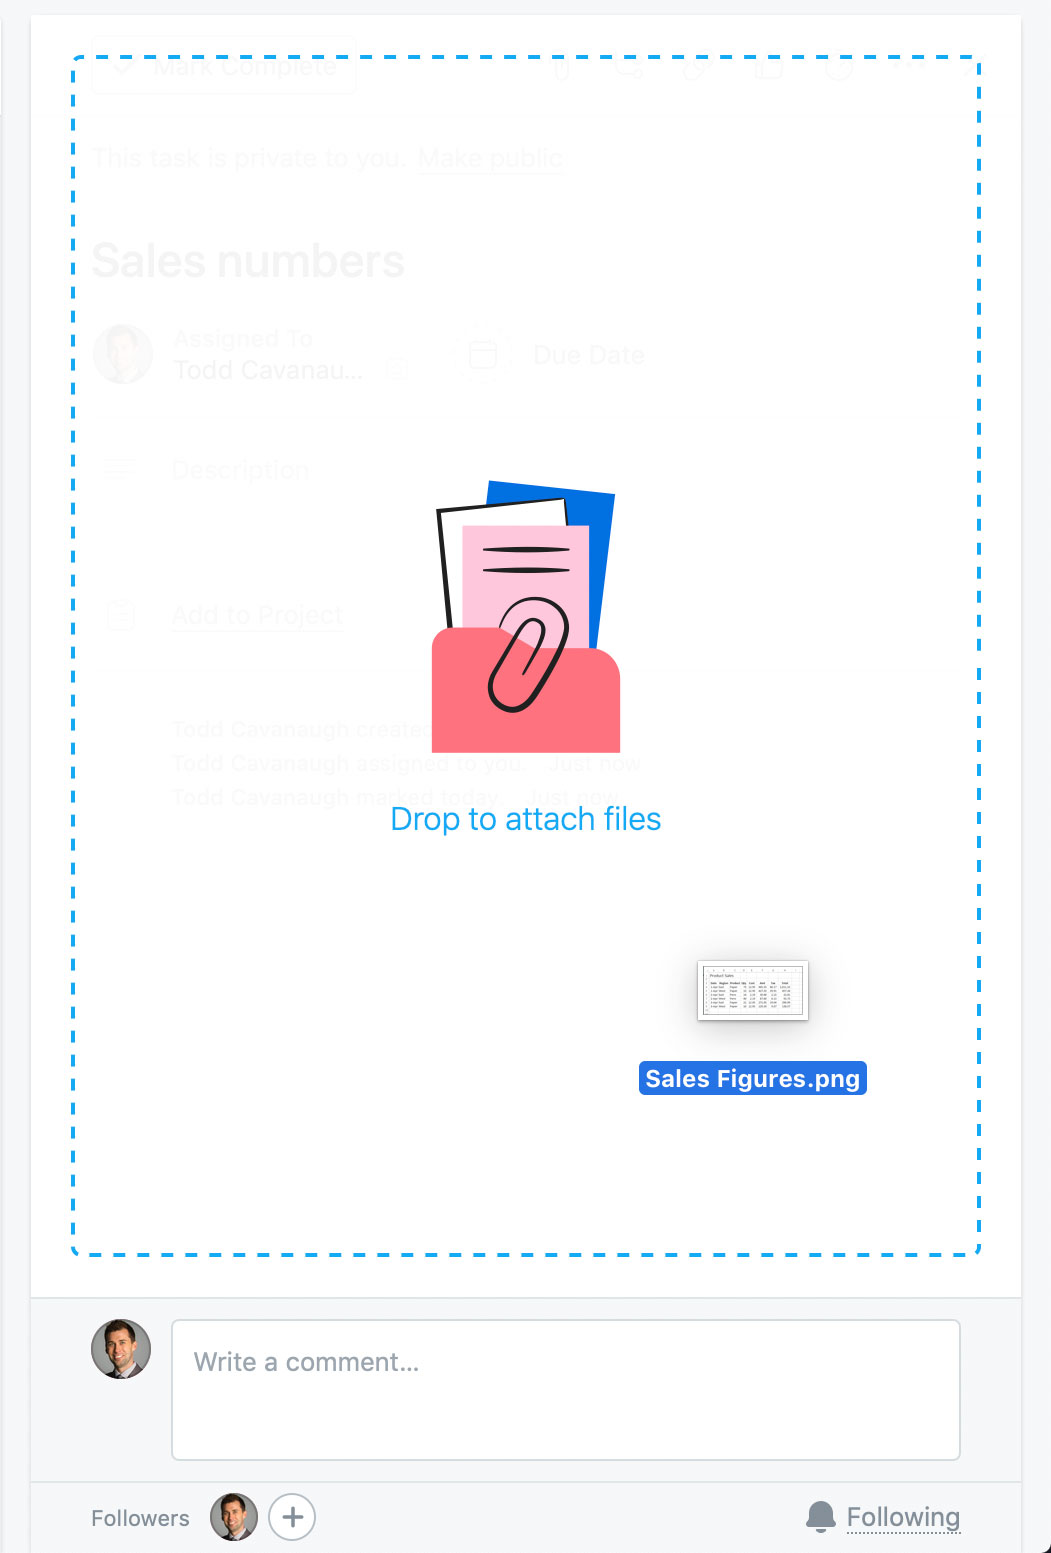
With this method, you can go ahead and just create your table in Excel (or Word or any other program) and upload it by dragging it onto the task details pane, or by using the attachments icon. This method is best if you have a lot of data to display, or you need plenty of data editing and manipulation in order to discuss it.
Option 2: Take a screenshot and attach that image to a task
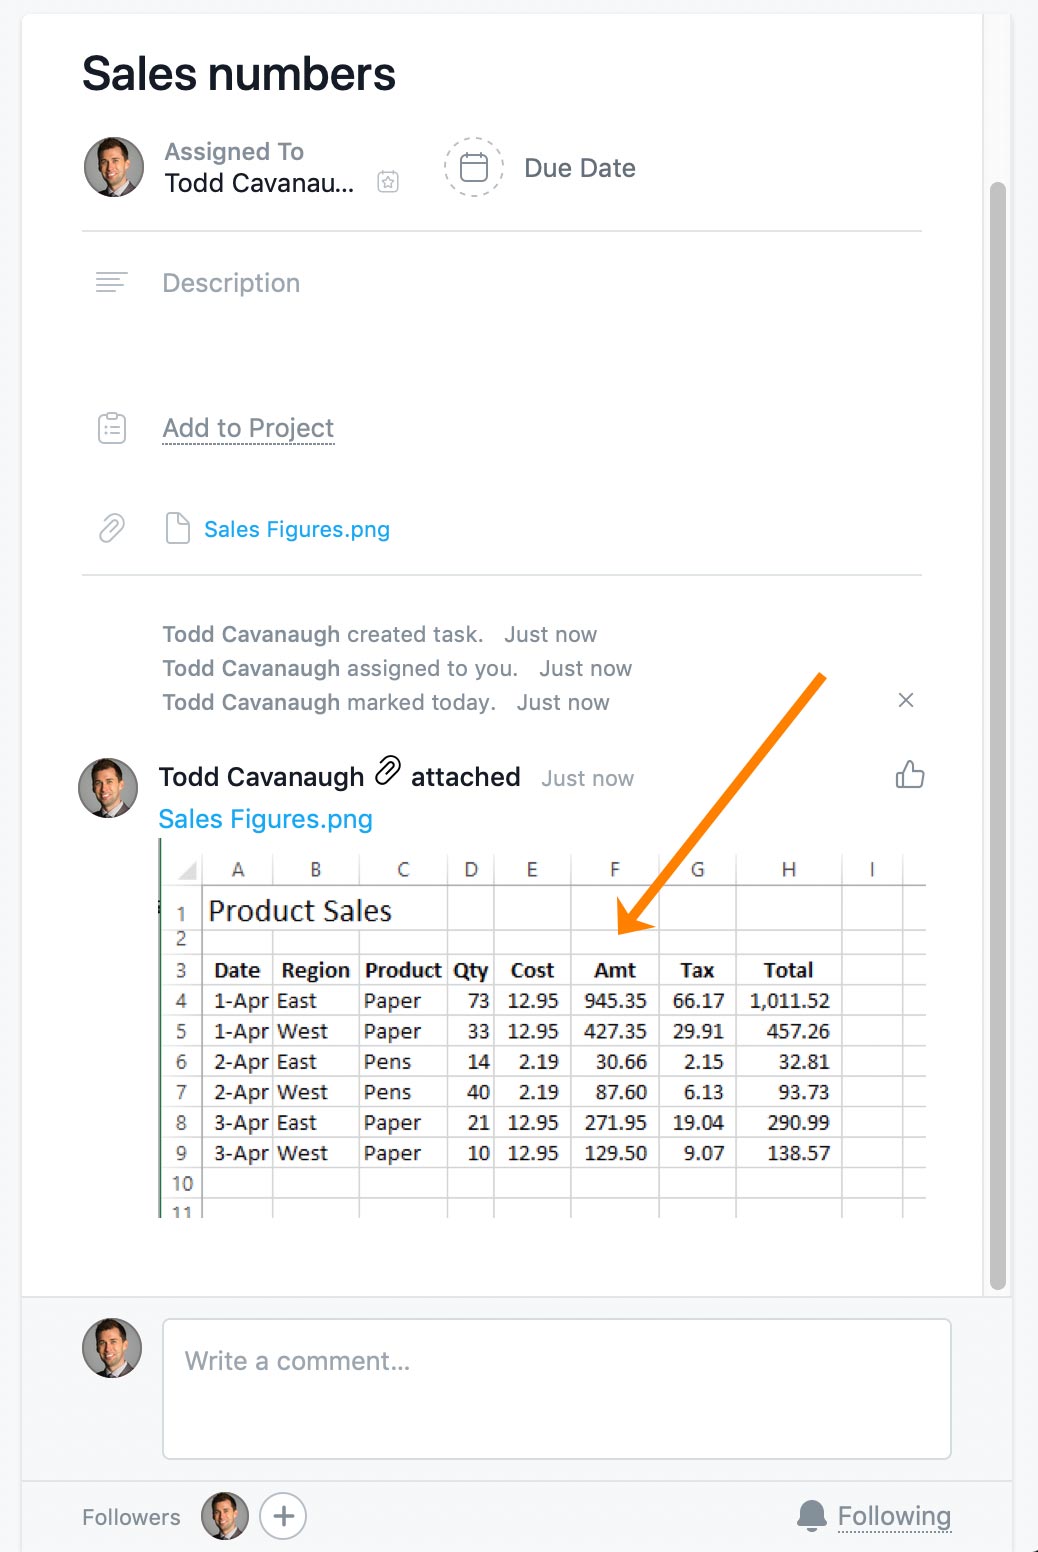
One of the easiest things to do is just take a screenshot of your table. This method is best if you can easily capture all the data. The disadvantage is you can’t edit/sort anything, or search the contents of the table within Asana. You can view the screenshot in the task details pane as a thumbnail, or click it to open up a full size image.
Option 3: Convert data to plain text & paste in Asana task description
If you want the ability to view and edit data directly in Asana, you can convert the table to text. This option takes another 30 seconds, but has the advantages of using Asana natively and allowing Asana to search the contents of the table.
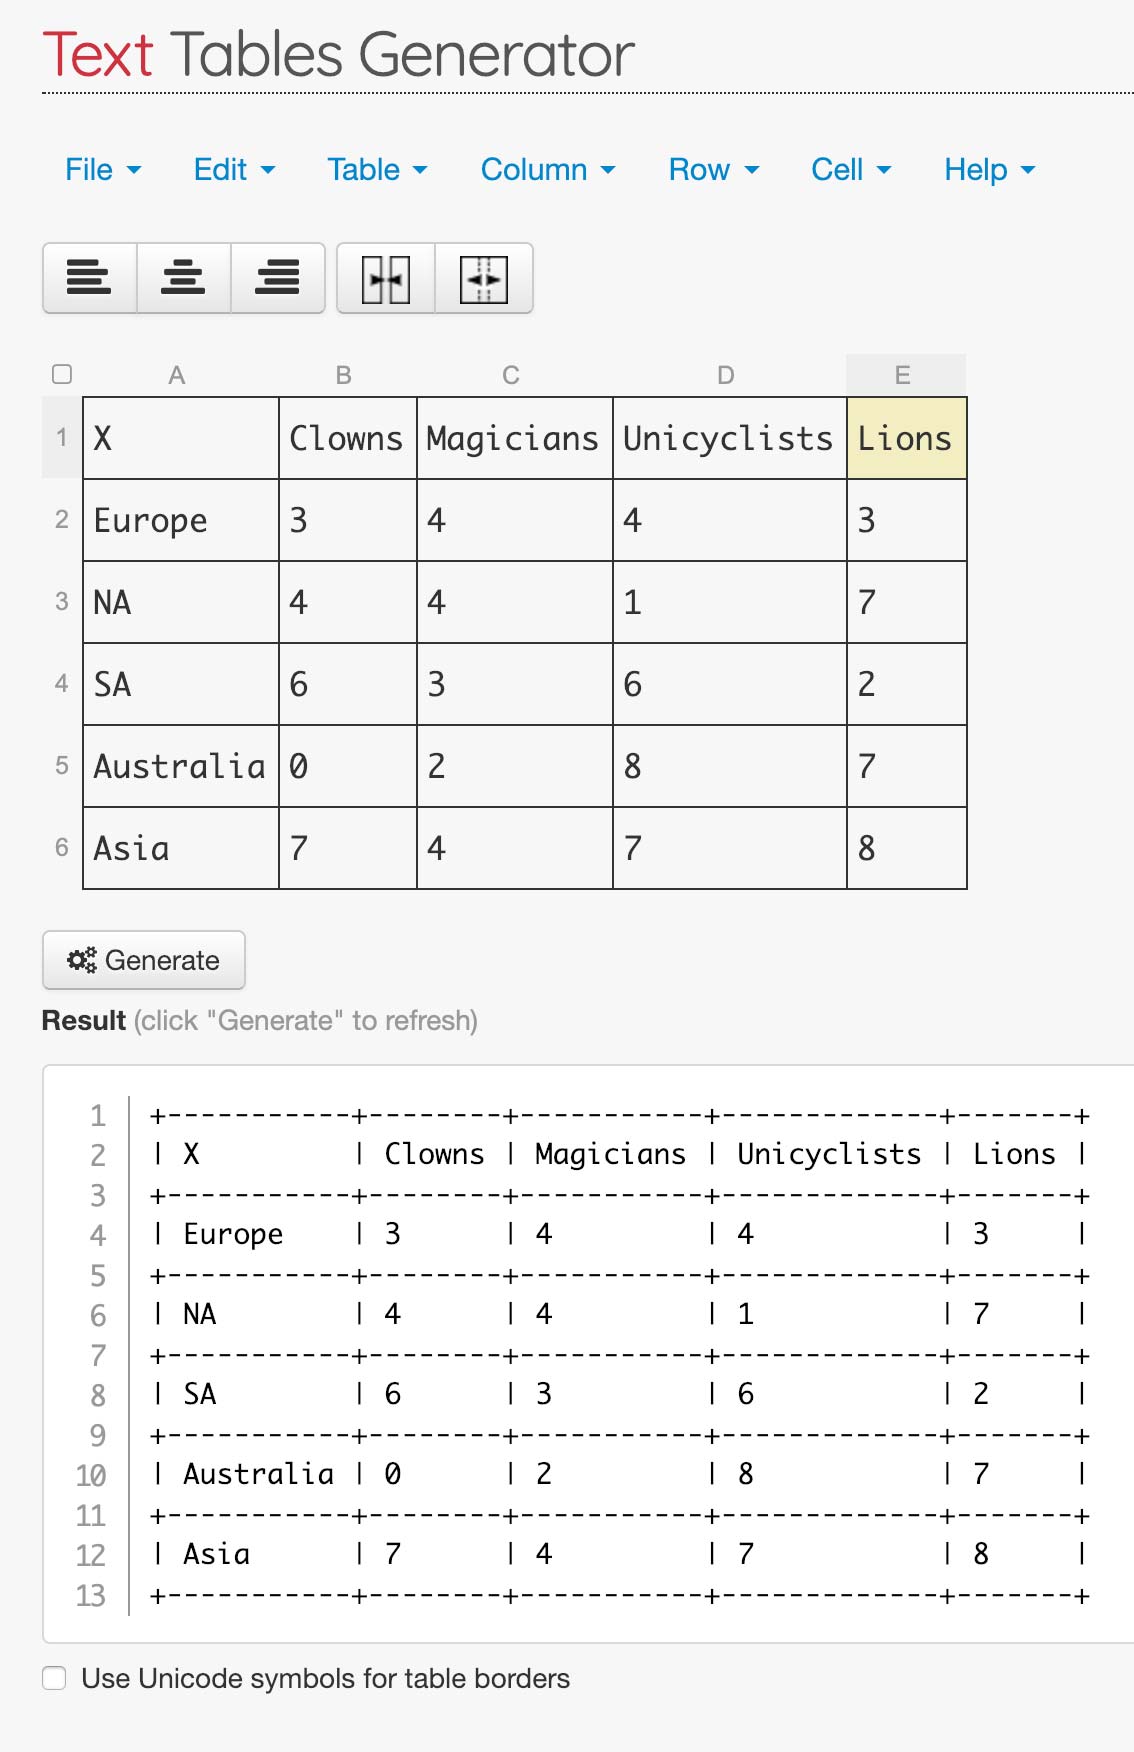
Step 1: Copy table
You can copy a table in Excel, Word, or even an HTML table. Just highlight the cells and copy.
Step 2: Use the online tool Tables Generator to convert table to plain text
Head to Tables Generator, a free online tool. Although you can build the table manually there, it’s much easier to select “File > Paste Table” and paste the table you copied from Step 1.
Step 3: Generate the table and copy the contents
Click the “Generate” button and then the “Copy to Clipboard” button.
Step 4: Paste in Asana task description
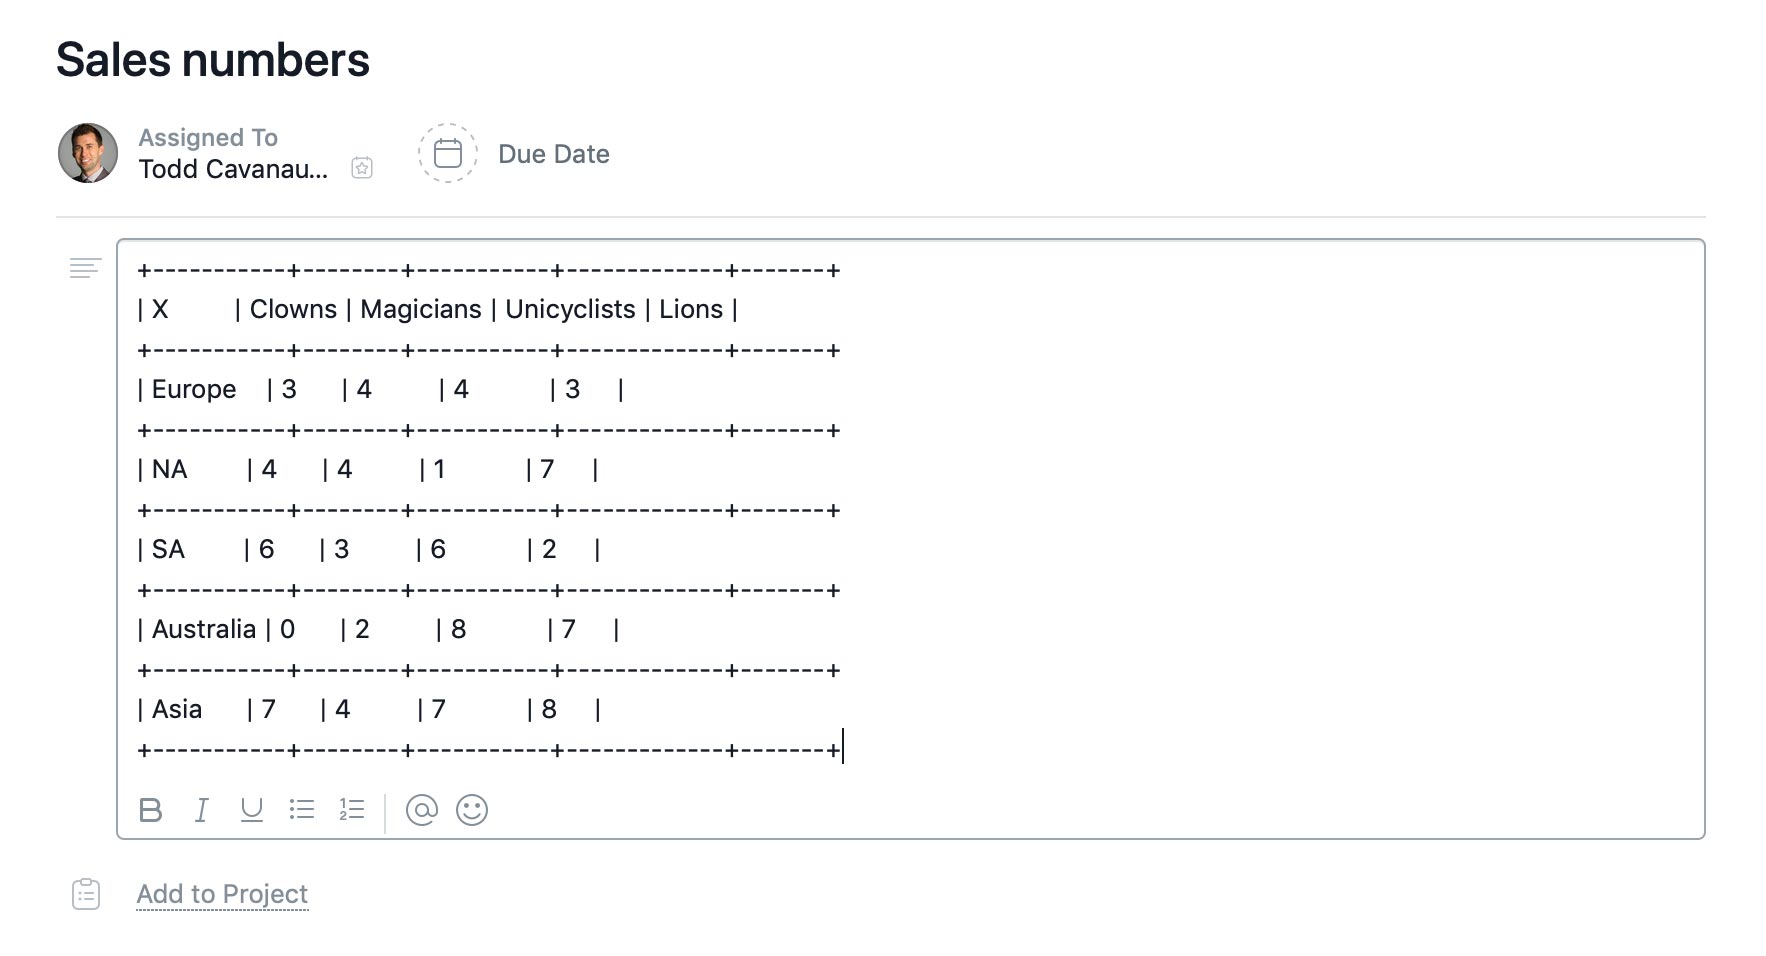
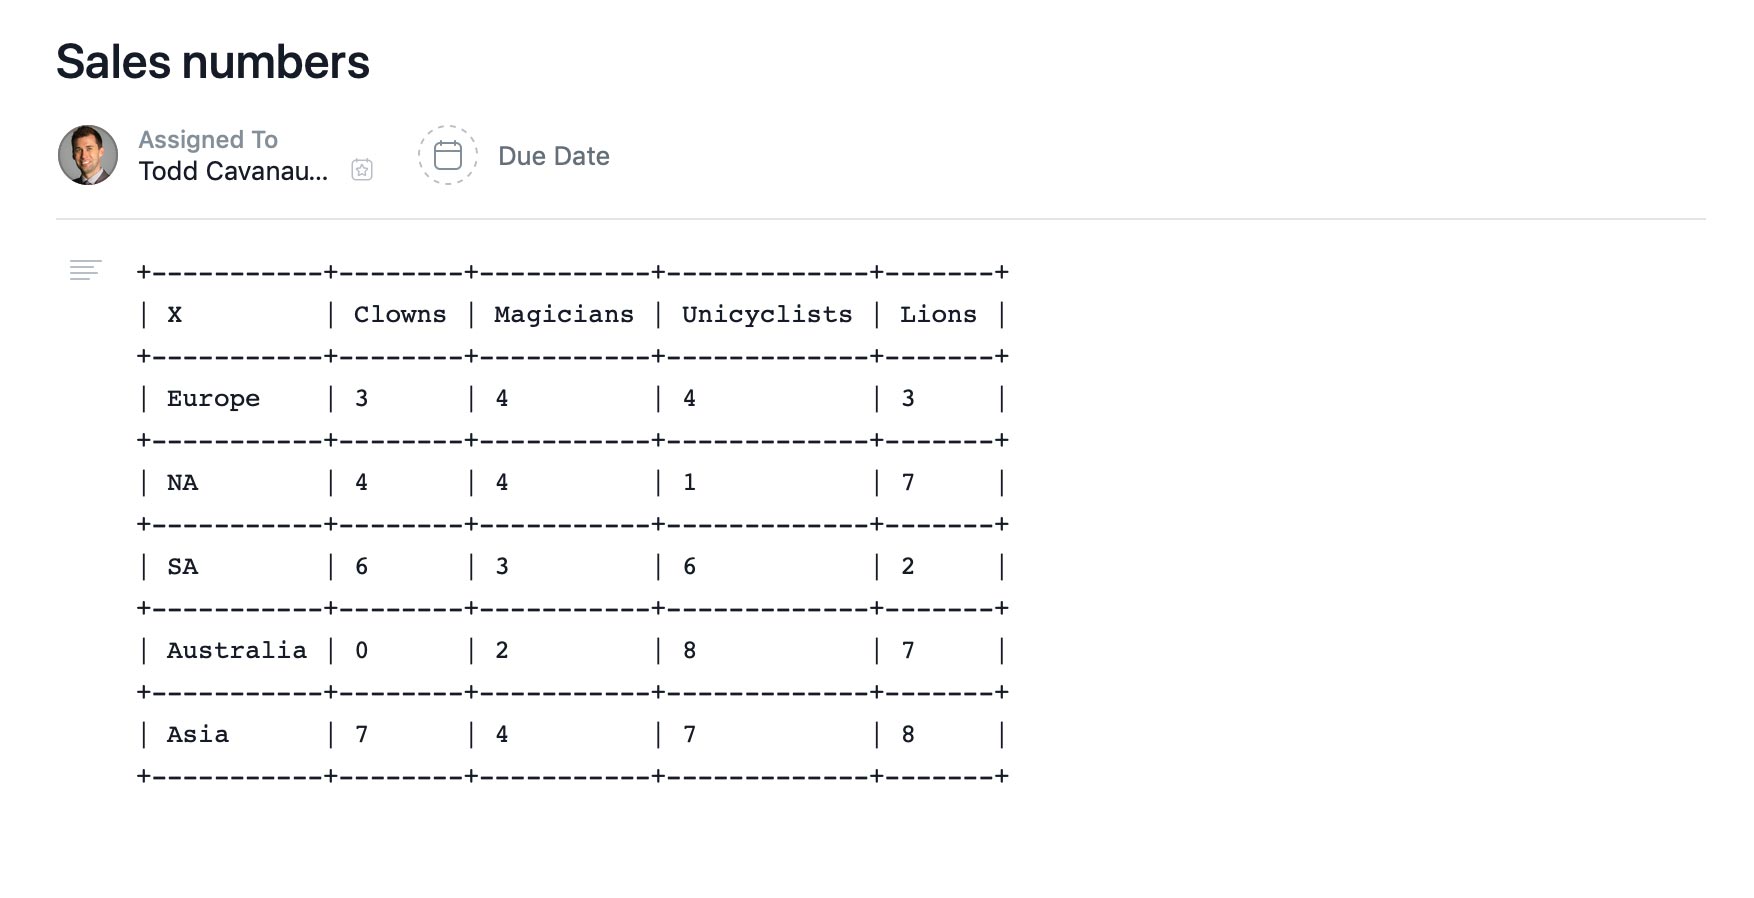
Paste the contents of your text table in the description field. Chances are, things won’t look quite lined up. The issue is with how the font is displayed. We need it to display it monospaced, or “fixed-width.”
- On a Mac: Highlight the table (click in the description and press “⌘ + A” to highlight all). Then press “Shift + ⌘ + M” to make the table monospaced.
- On Windows: Highlight the table (click in the description and press “Ctrl + A” to highlight all). Then press “Ctrl + Shift + M” to make the table monospaced.
