
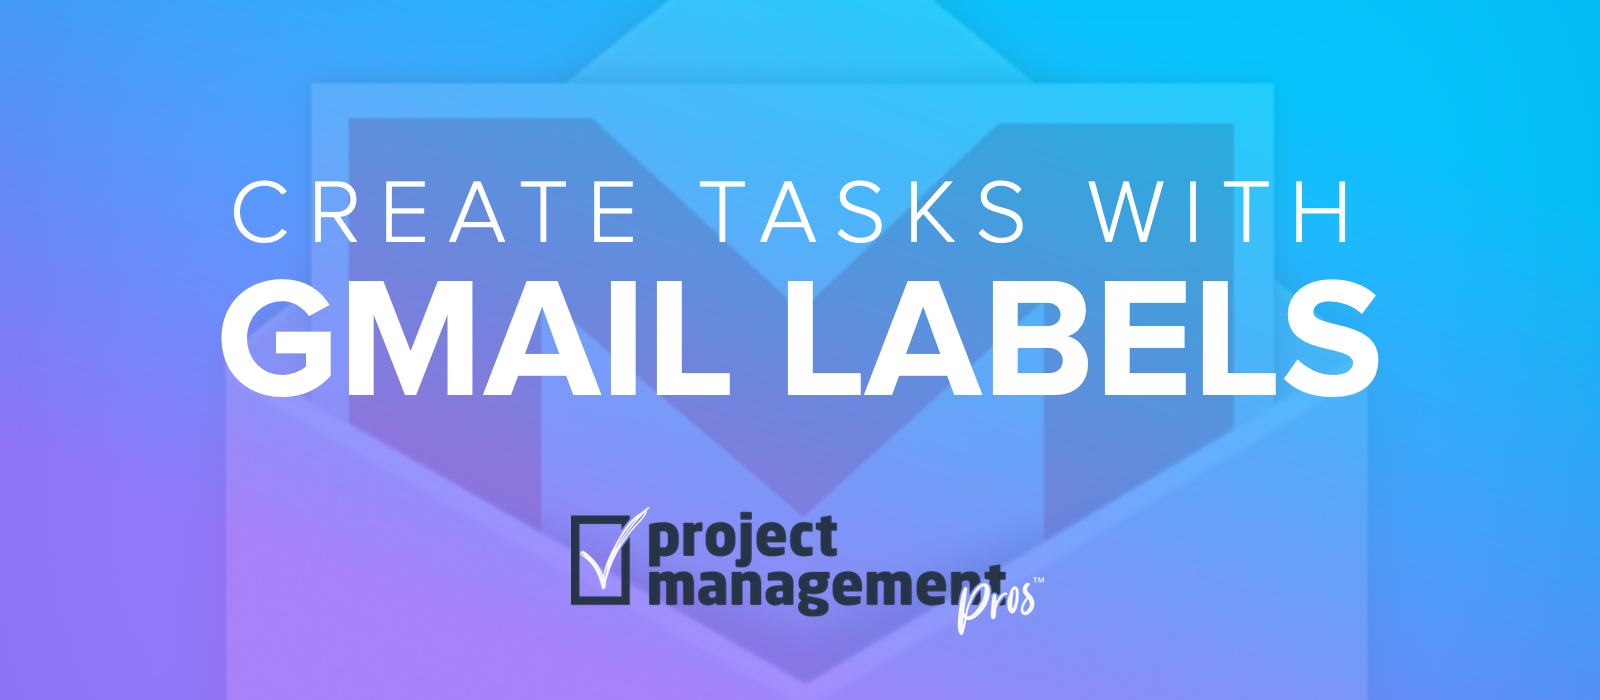
Send email tasks to Asana with a Gmail label
Note: If you buy something linked to in one of our posts, we may get a small share of the sale.
Asana makes it easy to email tasks directly into Asana by forwarding/sending the email to [email protected] from the email address associated with your Asana organization. However, one trick is to create a Gmail label (for personal Gmail or Google Apps users) that automatically sends emails into Asana. This is faster than having to click several times to send an email as opposed to just clicking and dragging onto a label.
If you need to sort through large amounts of email regularly and convert many of those emails into Asana tasks, using Gmail labels will save you time.
Option 1: Auto-forward incoming messages using filters
The first way to automatically create tasks in Asana is to create a Gmail filter to auto-forward emails matching certain characteristics when they arrive in your Inbox. The idea is to create a filter that forwards your email into Asana before you even read it. For example, if you use a web form like Contact Form 7 (free), Google Forms (free), or Gravity Forms (paid), you could create tasks from the following types of emails:
- Sales inquiries. Create Gmail filter matching “Sales inquiry” in the subject line.
- Bug reports. Create Gmail filter matching “Bug report” in the subject line.
- Event attendees. Create Gmail filter matching “Event registration” in the subject line.
- Job applicants. Create Gmail filter matching “Job application” in the subject line.

Here’s how to create a filter in Gmail:
- Go to Settings (gear icon in top right).
- Select the “Filters and Blocked Addresses” tab.
- At the bottom, click on “Create a new filter.”
- Enter your criteria. Most likely this would be “Has the words” or “Subject.”
- Choose “Create filter with this search.”
- Decide what should happen with these emails. Check “Forward it” and add either [email protected] or your project-specific email address. Note: If you have never forwarded email before, when you click to add a new email address it will take you to a different settings screen to add the forwarding email.
- (Optional) Add a label. This lets you quickly click to view all the emails that are being forwarded.
- (Optional) If you don’t need the notification in your email (since you’re also getting it in Asana), also select “Skip the Inbox (Archive it)” and “Mark as read.”
- Click “Create Filter.”
There you go! Now you are automatically forwarding emails directly into Asana.
Option 2: Convert emails to Asana tasks on demand using Zapier or IFTTT
Using filters for incoming mail works great for predictable emails that share common characterisitcs like a similar subject line, but what about random emails from coworkers or clients?
You can just forward the email, of course, but a faster way that allows you to batch create many tasks at once is to automatically send any email to Asana with a certain Gmail label. For example, any email that receives a label called “Asana” automatically gets added to your “My Tasks” in Asana.
This is not possible using the default tools Gmail provides. However, you can use a 3rd-party automation service to achieve this. The two most popular are Zapier and IFTTT (If This, Then That).
Although each service differs slightly, the process is the same: build a zap (Zapier) or recipe (IFTTT) that bridges Gmail and Asana that creates a task in Asana when the Gmail label is added. Both services offer a free tier.


Since both services are so similar, we’ll just cover the process in Zapier.
Set up Zapier to create tasks in Asana from a Gmail label
- Add Gmail and Asana to your “Connected Accounts.”
- Click “Make a Zap!”
- Add Gmail as the “Trigger” app. Select “New Labeled Email.”
- Choose which Gmail account (if multiple) and which label to use. Note: Must be an existing label with at least one email labeled.
- Test that everything is set up properly so far by clicking “Fetch and Continue.”
- Choose Asana as the “Action” app.
- Choose “Create Task” as the action to take.
- Select which Asana account to use (if multiple).
- Build how you want the Asana task to be created. This is where you choose what Asana organization to use, what becomes the task name (i.e. Email subject), what goes in the task description, who you want it assigned to, etc.
- Click “Create & Continue” to test the zap. You’re done!


You did it! A snazzy new tool in your Asana toolkit. What other automation tactics have saved you time with Asana?

